How to Use Evoto AI for Impressive Portrait Retouching -step by step guide-

Are you ready to take your portrait retouching to the next level? Let’s explore Evoto AI, the easy-to-use tool that’s changing the game. In this step-by-step guide, we’ll show you how to effortlessly enhance your photos with Evoto AI’s powerful features. From smoothing skin to perfecting details, you’ll learn how to make your portraits stand out. Whether you’re a pro or just starting out, get ready to make your images shine with Evoto AI.
Getting Started with Evoto AI
What is Evoto AI?
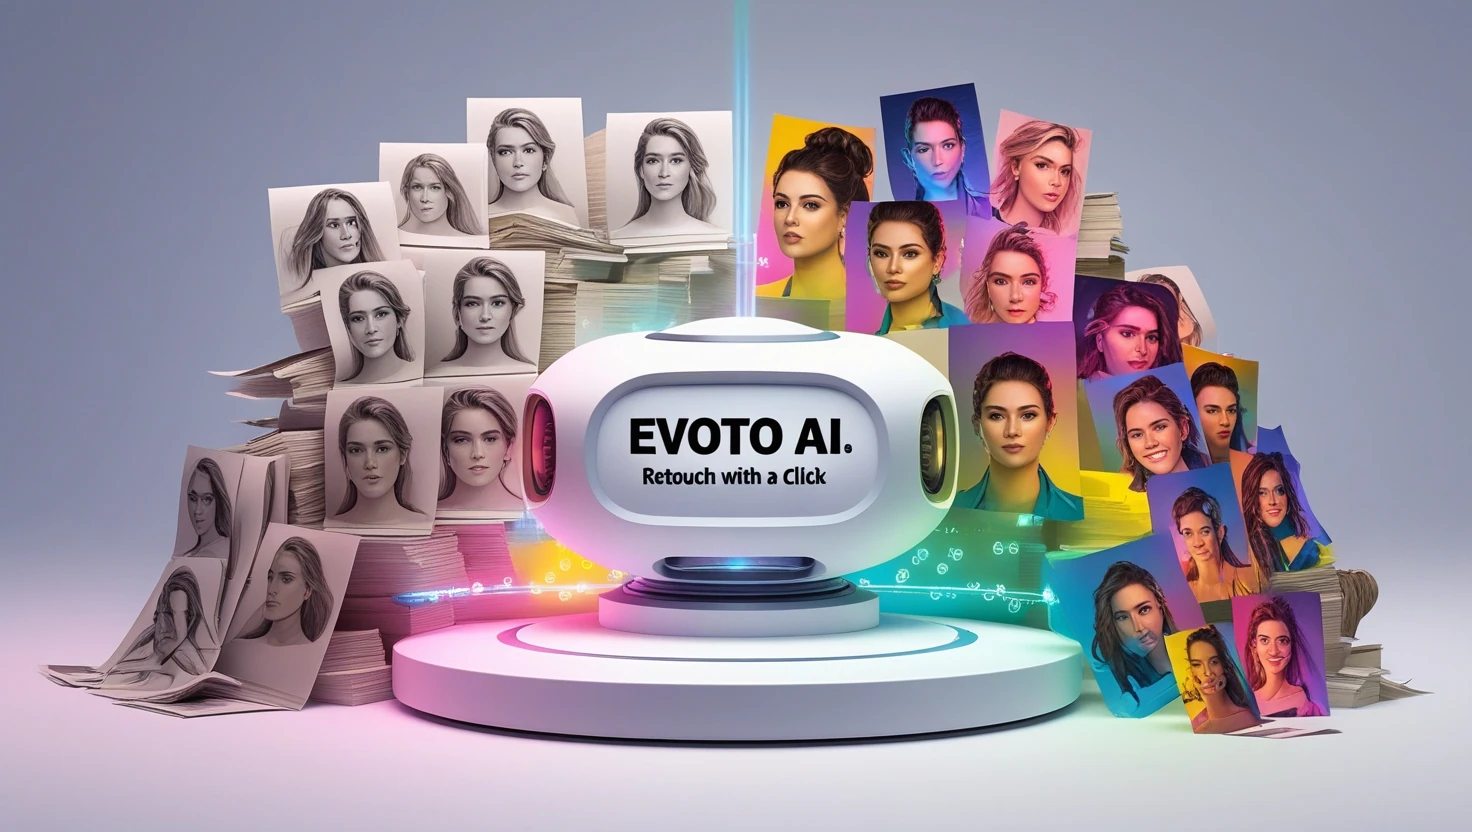
Evoto AI isn’t just another photo editing tool; it’s a game-changer for photographers who face the challenge of heavy retouching workloads. Designed with the specific needs of wedding and portrait photographers in mind, this software streamlines the retouching process, making it faster and more efficient than ever before. Imagine having to retouch hundreds of images from a single event. That’s where Evoto AI shines. It’s engineered to handle large volumes of photos, ensuring that each one gets the attention it deserves, without the usual time-consuming effort. Whether you’re dealing with subtle skin imperfections or more complex editing tasks, Evoto AI equips you with the tools to do it quickly and effectively.
Capabilities
One of the standout features of Evoto AI is its batch editing capability. This powerful function allows you to apply edits to multiple images at once, dramatically reducing the time spent on repetitive tasks. Imagine applying a consistent look to a whole set of wedding photos or a portrait series in just a few clicks. That’s the efficiency Evoto AI brings to your workflow.
But Evoto AI’s capabilities don’t stop there. It goes beyond traditional editing by offering unique features like body contouring and liquefying. These tools open up new possibilities in portrait photography, allowing you to enhance and refine body shapes in a natural and unobtrusive way. Whether you need to subtly adjust poses or refine the contours in your images, these features provide you with the control to do so quickly and effectively. Moreover, the liquefy feature is not just about reshaping; it’s about refining and perfecting the details in your images, all while maintaining a natural and realistic look. It’s particularly useful for portrait photographers who aim for perfection in every shot. In summary, Evoto AI’s batch editing, body contouring, and liquefying capabilities offer a suite of tools that are not just powerful but also easy to use, making it an invaluable asset for photographers who want to elevate the quality of their work while saving time.
Setting Up Your Workspace
Downloading and Installing Evoto AI
Begin by downloading the Evoto AI installer from the official website. Look for the “Download” or “Download Free Trial” option, which will start the download of the executable file (such as “Evoto_Setup_3.0.0-378 (1).exe”). After the download is complete, run the installer and follow the prompts to install the software on your computer.
Familiarizing Yourself with the User Interface
Once installed, open Evoto AI to arrive at the sign-in page. You can log in with your existing credentials or sign up for a new account using your email or social media accounts. The main dashboard, accessible after logging in, is intuitively designed to help you identify and access various editing tools and settings. Spend some time exploring the interface to understand the layout and functionalities offered by the software.
Creating Your First Project and Importing Images
To organize your edits, create a new project by clicking on the “Create Project” button, after clicking on the home icon in the top left corner of the screen. Assign a name to your project for easy reference. Import images into your project by either dragging and dropping them into the designated area or using the software’s import functionality. Evoto AI is compatible with multiple file formats, allowing you to work with JPEGs, RAW files, or TIFFs seamlessly.
Navigating the Project Dashboard for Efficient Workflow Management
The project dashboard gives an overview of all your projects, each displayed with a thumbnail for quick recognition. You can open any project by simply clicking on it, which will take you to the project-specific editing workspace. Here, you can apply retouching presets, make detailed adjustments, and export the final images. The dashboard acts as a central hub for managing your workflow, enabling you to easily switch between different projects as needed. With your workspace set up in Evoto AI, you’re ready to tackle photo editing and retouching with greater efficiency. Getting comfortable with the software’s environment from the start will pave the way for smoother and faster editing in future projects.
Understanding the Interface
Navigating through Different Panels and Tools
Exploring Evoto AI’s interface reveals a well-organized layout that simplifies navigation. The panels and tools are arranged logically, which I found particularly helpful when I was editing a portrait from Pexels (a well-known free stock images database).
We have 5 main features:
- Portrait Retouching Panel
- Background Adjustments
- AI Color Adjustments
- Clothes and Accessories Touch-up
- Crop and Rotate
By integrating my experience, I hope to convey the practicality and user-friendliness of Evoto AI. Such advanced features, when highlighted appropriately, can illustrate the software’s capability to streamline the editing process, potentially making it an indispensable tool for photographers.
Note: I will explain these features one by one in the future sections.
Core Features of Evoto AI
AI-Based Skin Retouching
How the AI Detects Skin Issues
The AI technology in Evoto AI is remarkably adept at identifying skin imperfections, such as blemishes, uneven skin tones, and wrinkles. When I edited the portrait from Pexels, the AI accurately pinpointed areas of concern without manual input.
Adjusting the Skin Retouching Sliders
The skin retouching sliders in Evoto AI offer a range of adjustments. These include options for smoothing skin texture, reducing wrinkles, and eliminating blemishes. While working on the redhead’s portrait, I found that sliding adjustments were responsive and allowed for precise control.
Fine-Tuning for Natural Results
Achieving a balance between retouching and maintaining a natural look is crucial. In my experience with the redhead’s portrait, subtle adjustments made a significant difference. The ability to fine-tune settings ensured that the end result looked refined yet authentic.
Balancing Texture and Smoothness
One of the challenges in skin retouching is preserving skin texture while smoothing imperfections. With Evoto AI, I managed to maintain the natural texture of the redhead’s skin, ensuring it didn’t appear overly processed.
Wrinkle Removal Capabilities
Removing Wrinkles from Clothing and Different Facial Areas
Evoto AI’s wrinkle removal tool excels in smoothing wrinkles on both skin and clothing. In my example, I found this feature particularly useful for enhancing the overall appearance of the subject. The tool adeptly handled wrinkles on the face as well as on the attire, proving its versatility in various aspects of portrait retouching.
The Difference Between Coarse and Fine Wrinkle Adjustments
The software distinguishes between coarse and fine wrinkle adjustments, catering to different retouching needs. In my example, using the coarse adjustments for the clothing and fine adjustments for facial wrinkles allowed for a balanced and realistic retouch.
Preserving Fabric Texture While Smoothing Wrinkles
One of the standout features of Evoto AI is its ability to preserve the texture of fabrics while removing wrinkles. In my use case, applying this feature maintained the natural texture of the clothing, resulting in a polished yet authentic look. These wrinkle-removal capabilities of Evoto AI demonstrate the software’s proficiency in detailed retouching. By providing nuanced control over wrinkle adjustments, it empowers photographers to achieve a professional finish while maintaining the authenticity of their subjects. The appropriate visual examples will further enhance understanding of these features’ practical applications.
Advanced Retouching Techniques
Working with Presets
Understanding Presets
A preset in Evoto AI is a predefined set of adjustments that can be applied to a photo with a single click. Essentially, it’s a quick way to apply a specific look or style, which might include changes in color, contrast, brightness, and other editing parameters. Presets are incredibly useful in achieving consistent aesthetics across different images, especially when working on a series of photographs that need a uniform style. You can find the presets on the top left corner of your screen.
Using Built-in Presets for Quick Edits
Evoto AI offers a range of built-in presets tailored to various photography styles. For instance, in my experience, using one of these presets on the redheaded girl’s portrait instantly changed its mood and tone. It’s a straightforward way to see how different styles affect an image and can serve as a starting point for further edits.
Creating Custom Presets for Consistent Looks
One of the most advantageous features of Evoto AI is the ability to create custom presets. It allows you to maintain a consistent editing style across different projects. To create a preset:
- Make the desired adjustments using the various sliders available in the portrait retouching panel, such as ‘Freckle & Acne’, ‘Face Mole’, and ‘Dark Circle’.
- Once you’re satisfied with the settings that you’ve applied to the image, direct your attention to the lower part of the panel where you’ll find the ‘Save Preset’ option.
- Click on ‘Save Preset’. You’ll be prompted to name your new preset. Choose a name that clearly describes the style or type of edit, so you can easily identify it later.
- After saving, this custom preset will appear under ‘My Presets’, ready to be applied to any other image or project with a single click.
By creating and using custom presets, you streamline your workflow, ensuring you spend less time on repetitive adjustments and more on the creative aspects of photo editing.
Saving and Applying Presets to Other Projects
The capability to save and apply these presets across different projects is a significant time-saver in Evoto AI. Once I’ve created and saved a preset, I can easily apply it to any other project, ensuring uniformity and speeding up the editing workflow. This feature is particularly beneficial for large batches of images or maintaining a consistent style in a series.
Detailed Blemish and Shine Removal
Targeting Specific Areas Like Freckles, Acne, and Shine
Evoto AI’s precision in targeting specific skin concerns allows for detailed blemish and shine removal. When editing, I utilize the sliders dedicated to each skin issue, adjusting them until the freckles, acne, or unwanted shine are tastefully minimized, enhancing the subject’s natural beauty without erasing unique features.
Techniques for Body Reshaping and Facial Adjustments
The software provides a nuanced approach to body reshaping and facial adjustments, ensuring changes are subtle and respectful to the original image. I employ these tools to gently refine the silhouette or facial contours, making sure the integrity of the original photograph is preserved.
Eye Enhancement and Makeup Adjustment
Eye enhancement is another area where Evoto AI excels. The software offers adjustments that can brighten and add clarity to the eyes, making them more expressive. Similarly, makeup adjustments can be made to either accentuate the existing makeup or simulate makeup effects where needed.
Balancing Retouching to Maintain Authenticity
Maintaining the authenticity of the portrait is paramount. My approach with Evoto AI is to balance retouching so it complements, rather than overwhelms, the subject’s natural features. This involves a restrained use of the software’s powerful tools, ensuring the retouched image remains true to life.
Important Note: To avoid an over-edited appearance, I focus on incremental adjustments and frequently toggle the before-and-after views to ensure the edits remain realistic. This practice is key to achieving a retouched image that feels both polished and authentic, retaining the subject’s character and the photo’s overall mood.
Fine-Tuning Your Portrait Edits
Color Correction and Grading
Adjusting Skin Tones for Natural Warmth
When fine-tuning portraits in Evoto AI, I start with the ‘Basic’ panel, which is easily accessible and perfect for adjusting skin tones. I aim for a natural warmth that reflects the subject’s true complexion. The temperature and tint controls are straightforward, allowing me to dial in the exact warmth required for a lifelike appearance.
Using HSL Sliders to Enhance Portrait Colors
The HSL sliders are located just below the ‘Basic’ adjustments in the sidebar, and I find them essential for enhancing specific colors within a portrait. These sliders give me the control to subtly boost or reduce hues, saturation, and luminance values, enhancing features like eye color or clothing without affecting the entire image.
The Role of Lighting and its Effect on Skin Tones: Lighting’s effect on skin tones can be addressed in the ‘Curves’ and ‘Color Grading’ sections, which I locate by scrolling down the adjustment panel. Here, I can fine-tune the image to correct any lighting issues that might have impacted the skin tones, ensuring the subject looks as good in the image as they do in natural light. Each feature in Evoto AI is well-placed within the adjustment panel, making the color correction and grading process efficient and intuitive. This streamlined workflow allows for not only technical corrections but also creative expressions in my edits.
The Power of the Healing Brush
Spot Healing for Stubborn Blemishes
In Evoto AI, the Healing Brush tool is easily accessed from the top left menu. When I select this tool, a toolbar appears on the right side of the screen, where I can finely tune the brush settings. The size slider lets me adjust the brush diameter for pinpoint accuracy, and the hardness slider controls the feathering, allowing for a more natural blend with the surrounding skin.
Layering Edits for a Non-Destructive Workflow
After selecting the Healing Brush, I’m able to layer my edits, stacking various corrections on top of one another without directly altering the original image. This method ensures that my workflow remains non-destructive, and I can make adjustments or revert changes with ease.
Zooming in for Precision Editing
To engage in precision editing, I use the zoom function, which is typically found within the main view or edit menus, to closely inspect and work on detailed areas. This feature is essential for ensuring that each Healing Brush stroke is as accurate and effective as possible, particularly when working on intricate aspects of the portrait. By using the Healing Brush tool from its dedicated spot in the interface, I can confidently remove any blemishes, ensuring a polished outcome. This tool is integral to my retouching process, helping me achieve a professional and clean look in all my portraits.
Background Adjustment and Headshot Backdrop Changer
Enhancing Image Backgrounds Through AI-Assisted Adjustments
Evoto AI’s background adjustment capabilities enable me to elevate the visual appeal of an image effortlessly. With AI assistance, I can smooth out inconsistencies and add depth or artistic effects to the backdrop, enhancing the overall composition without manual selection or layer masking.
Simplifying the Process of Changing Headshot Backdrops for Consistency and Brand Alignment
The headshot backdrop changer is a game-changer for maintaining brand consistency. In my experience, this tool streamlines the editing workflow significantly. By selecting from a range of preset backdrops or customizing my own, I can ensure all headshots align with the brand’s aesthetic, creating a cohesive portfolio with just a few clicks.
Leveraging Sky Replacement Features to Transform the Mood and Setting of Outdoor Portraits
The sky replacement feature in Evoto AI is particularly useful for outdoor portrait sessions where the weather or lighting conditions may not be ideal. By selecting from various sky patterns, I can dramatically alter the mood of an image—from a clear, sunny day to a dramatic sunset—ensuring that the final output matches my creative vision or the client’s expectations. This feature not only adds a dynamic element to the portraits but also saves me hours that I would otherwise spend on complex sky-compositing techniques.
Important Note: This feature works only when AI detects the existence of a sky in your portraits. In my case there is no sky, but it is very easy to navigate through this tool.
Clothes and Accessories Touch-Up
Streamlining the Editing of Clothing and Accessories with AI Tools
Evoto AI simplifies the process of editing clothing and accessories significantly. The AI tools available allow for the quick retouching of various aspects of an outfit, from adjusting the color saturation to enhancing the texture. This saves considerable time compared to manual editing methods.
Addressing Fabric Wrinkles and Refining the Details of Garments and Jewelry
One of the standout features is the ability to address fabric wrinkles. With the ‘Wrinkle Removal’ tool, I can smooth out creases and folds in clothing, which is particularly useful for formal portraits where a neat appearance is essential. Additionally, the ‘Accessory Touch Up’ function lets me bring out the finer details in jewelry and other adornments, adding that extra polish to a portrait. These tools not only improve the aesthetic quality of the clothing and accessories but also contribute to the overall finesse of the final image.
Pricing and Credits for Evoto AI
Evoto AI has adopted a unique pricing model that aligns with the needs of photographers at different volumes of work. Here’s a breakdown of how it functions:
- No Upfront Cost: The software can be downloaded for free, which is a significant advantage for those looking to try out its capabilities without initial investment.
- Credit System: Instead of a subscription model, Evoto AI uses a credit system for operations. Each credit allows for the export of one image. This pay-as-you-go approach ensures you only pay for what you use, making it cost-effective for both low and high-volume users.
- Bulk Purchase Discount: For those with larger batches of photos, credits can be bought in bulk. The more credits you buy, the lower the cost per credit, with an average price of about six cents each.
- Introductory Offer for New Users: To get started, new users are gifted 30 free credits. This trial is especially helpful for gauging the software’s value to your workflow without any commitment.
- Promotional Offers: Occasionally, Evoto AI runs promotions. One such offer includes 500 credits for roughly $36 to $37, which can significantly decrease the per-image cost for frequent users.
- Re-exporting at No Extra Cost: If you need to re-export an image, it doesn’t cost any additional credits. This is particularly beneficial when you need to make further adjustments after the initial export.
Read More:
- Craiyon AI: The Ultimate Beginner’s Guide to Easy AI Art Creation
- Looka AI: How does it simplify Branding for non-designers “a step-by-step guide”
- How to Use Evoto AI for Impressive Portrait Retouching -step by step guide
- Mastering Bezi AI: The Ultimate Guide for 3D Designers
Conclusion
My experience with Evoto AI has significantly reduced the time and effort required for photo retouching. The advanced AI tools streamline complex editing processes, making it an efficient solution for professional photography workflows. This efficiency translates into more time for creative pursuits and less time spent on tedious editing tasks. While Evoto AI operates on a pay-per-image model, I find it cost-effective in the long run. The initial investment in credits can be easily offset by incorporating the cost into the pricing structure for clients, especially for advanced editing services.
Frequently Asked Questions
Q: Is Evoto AI suitable for beginners?
A: Yes, Evoto AI is designed with an intuitive interface that makes it accessible for beginners while providing advanced features for professional photographers. The software includes built-in presets and AI-powered tools that simplify complex retouching tasks.
Q: Can I use Evoto AI without an internet connection?
A: Evoto AI requires an internet connection for most of its AI-powered features and for exporting images using credits. However, basic editing functions may work offline once the software is installed.
Q: How many free credits do I get when starting with Evoto AI?
A: New users receive 30 free credits to try out the software. Each credit allows you to export one retouched image, giving you ample opportunity to test the platform’s capabilities.
Q: Can I batch edit multiple images at once?
A: Yes, one of Evoto AI’s standout features is its batch editing capability, allowing you to apply consistent edits and presets to multiple images simultaneously, which is particularly useful for wedding and portrait photographers.
Q: What file formats does Evoto AI support?
A: Evoto AI supports various file formats including JPEG, RAW files, and TIFF, making it compatible with images from most professional cameras and smartphones.
Q: Can I create and save my own presets?
A: Absolutely! Evoto AI allows you to create custom presets by saving your preferred adjustment settings, which can then be applied to other images or projects for consistent editing workflows.
Q: Does re-exporting an image cost additional credits?
A: No, if you need to re-export an image after making additional adjustments, it doesn’t cost any extra credits, making the editing process more flexible and cost-effective.
Q: Is there a subscription option available?
A: Evoto AI uses a credit-based system rather than traditional subscriptions. You purchase credits in bulk (with discounts for larger purchases) and use them as needed, providing more flexibility for different usage patterns.


