Looking to create 3D masterpieces with LeiaPix Converter? You’ve come to the right place! This step-by-step guide is designed to walk you through the ins and outs of this revolutionary tool. Whether you’re new to 3D imaging or a seasoned expert, there’s something here for everyone. So, why wait? Let’s dive in and unlock the magic of LeiaPix Converter together!
what is leiapix converter?
LeiaPix Converter is a cutting-edge tool that transforms your 2D images into immersive 3D masterpieces. It offers advanced features like 3D Depth Map Generation and customizable animations to revolutionize 3D imaging.
Setting Up Your LeiaPix Account
Registration Process :
When I first decided to try out LeiaPix Converter, the registration process was straightforward. You’ll find a “Sign Up” button on the top-right corner of the homepage. Clicking it takes you to a form where you’ll need to provide some basic information like your email and a password.

Navigating the LeiaPix converter Dashboard:
After signing up, I was immediately taken to the dashboard, and let me tell you, it’s impressively user-friendly. The dashboard is where you’ll find the ‘+’ button for uploading images, settings for your account, and a gallery of your previous 3D conversions.

Your First 3D Conversion :
Uploading Your Image :
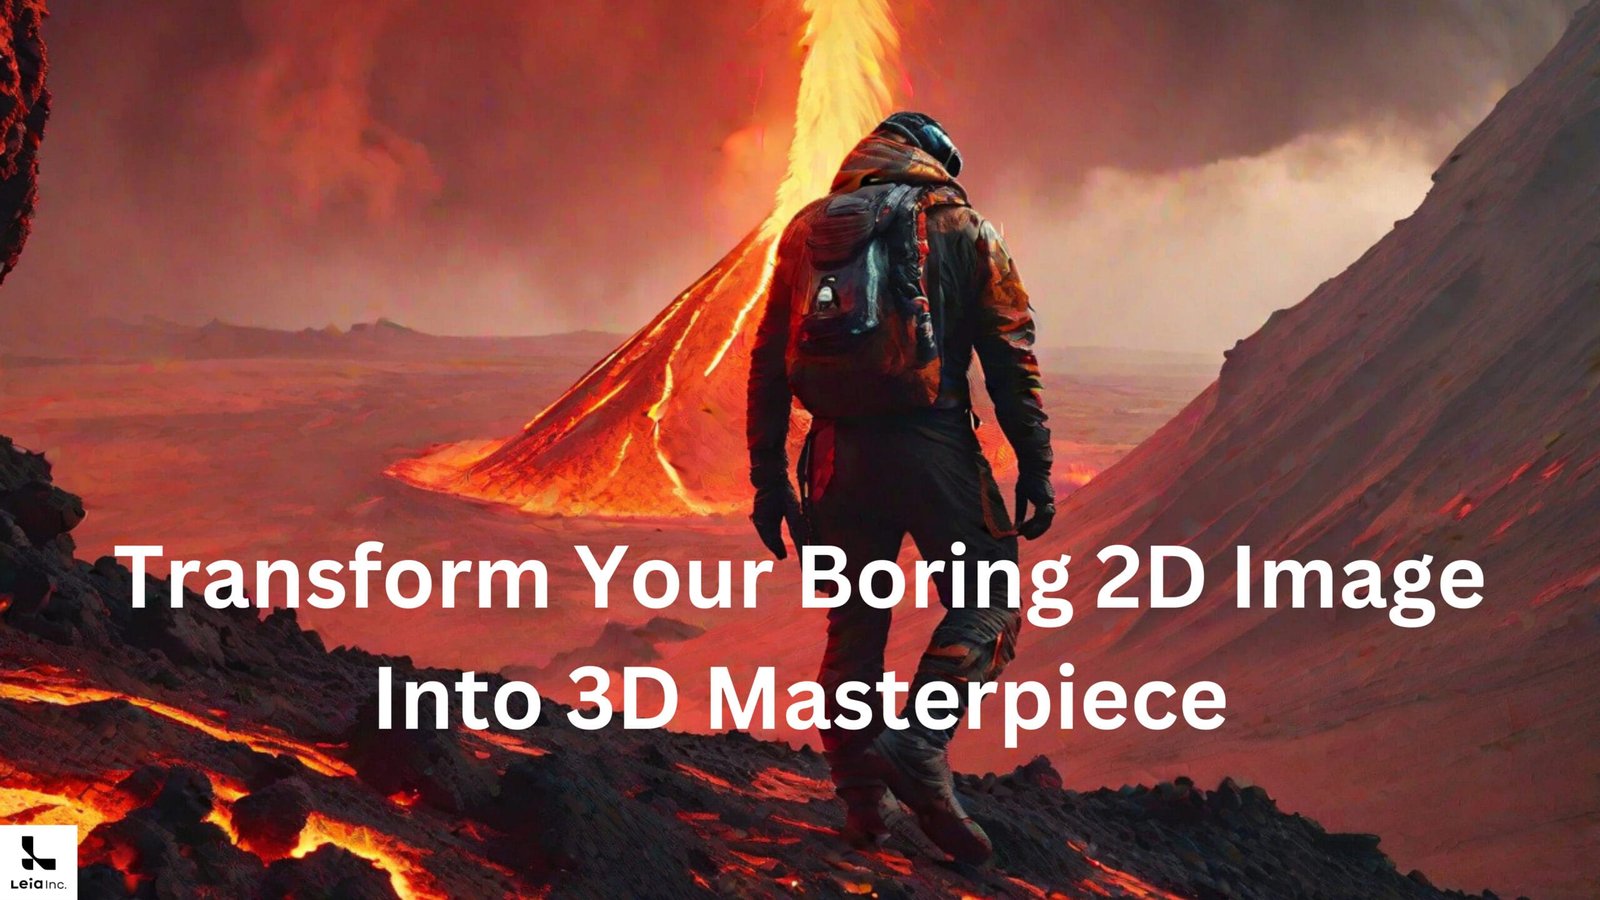
So, you’re ready to create your first 3D masterpiece? Awesome! I was too. The first step is to upload your image. Just click the ‘+’ button on the dashboard. It’s that simple! LeiaPix supports a variety of file formats, including JPEG, PNG, and even TIFF. For this guide, I decided to upload an image we created in another article using “Mage Space”—it’s a captivating scene of a man climbing a volcano on an abandoned volcanic planet. If you’re curious about how we created that image, check out our Get Pro Results with Mage Space: A Step-by-Step Tutorial.

LeiaPix converter Features explanation:
Adjusting the Animation Duration
When I first uploaded our volcanic planet image, I noticed an icon that lets you set the animation’s length. Whether you want the man’s climb to be quick and intense or slow and dramatic, you’ve got options. For our example, let’s opt for a three-second animation to capture every detail of the lava flow and the man’s ascent.
Choosing the Direction of Movement
Next, you’ll find icons that let you dictate the image’s movement. You can choose from various animation styles like horizontal, wide circle, tall circle, vertical, and perspective. For our volcanic scene, how about we go for a wide circle to emphasize the vastness of the planet?
Tweaking the Amount of Motion
There’s also an icon for adjusting the motion’s intensity. More motion adds a dynamic feel, while less motion offers a subtle touch. Given the dramatic nature of our scene, let’s crank up the motion to make the lava and the climber come alive.
Setting the Focus Point
This feature allows you to focus on the center, offering a balanced view, or you can zoom in for a close-up. For our example, let’s stick to the center focus to keep the climber and the volcano equally captivating.
Edge Dilation for Image Sharpness
Nobody likes blurry edges, right? The edge dilation feature ensures your image remains sharp and clear. For our detailed volcanic scene, we want every pixel to be crisp. So, let’s make sure edge dilation is activated.

LeiaPix converter Advanced Features:
Once you’re satisfied with the basic settings, you can dive deeper into the advanced editor panel. You can for example adjust the movement axes for more depth, which would be fantastic for our 3D volcanic planet scene
Creating 3D Animations :
Now, if you’re like me and you want to take your 3D images to the next level, LeiaPix has got you covered with its 3D animation features.
To create a 3D animation, you’ll need to navigate to the ‘Animations’ tab on the dashboard.
LeiaPix offers specific settings for animation length, style, and motion. For instance, I set the animation length to 10 seconds, chose a ‘Bounce’ style, and added a ‘Zoom’ motion to make our climber appear as if he’s really scaling that volcano.
Depth Map Customization:
So, you’ve got your 3D depth map, but you’re itching to make it even more lifelike? LeiaPix offers a feature that allows you to customize the depth map for complex adjustments. I was amazed at how much control this gave me over the 3D effect.
To customize the depth map, you’ll find a ‘Customize Depth’ option at the top.

I used this feature to add more depth to the lava flows in our example, It made the scene look incredibly dynamic!
LeiaPix converter examples and use cases:
Depth map customization isn’t just for creating cool art; it has practical applications too. For instance, architects could use this feature to add depth to 2D blueprints, making them easier to visualize in 3D. Or imagine a teacher using a customized depth map to make a historical battle come alive for students.
In our case, customizing the depth map made our climber look as if he was actually navigating the treacherous terrain of an abandoned volcanic planet. It added that extra layer of realism that made the image not just a picture, but an experience.
Sharing and Downloading Your 3D Masterpiece
File Formats :
Once you’ve created your 3D masterpiece, you’re going to want to show it off, right? LeiaPix Converter makes it super easy to download your work in various file formats. I was thrilled to find that it supports MP4, GIF, and even more specialized formats.
For our example, I chose to download it as an MP4 because it best captured the dynamic elements of the 3D animation.

Social Media Integration :
But what’s the point of creating something amazing if you can’t share it? LeiaPix has seamless social media integration that allows you to share your creations directly from the platform. I found this feature under the ‘Share’ tab, and
you can share your final result on Twitter and Instagram directly from LeiaPix, You can also share a link to your creation, making it accessible to those who might not be on social media.
Read More :
- Get Pro Results with Mage Space: A Step-by-Step Tutorial
- Looka AI: How does it simplify Branding for non-designers “a step-by-step guide”
- How to Use Evoto AI for Impressive Portrait Retouching -step by step guide
Conclusion :
We’ve been on quite a journey, haven’t we? From setting up your LeiaPix account to creating your very first 3D masterpiece. If you’ve been following along with our example of the “man climbing a volcano,” you’ve seen firsthand the incredible capabilities of LeiaPix Converter. I can’t stress enough how much fun and rewarding it is to see your 2D images come to life in 3D. So, what are you waiting for? Dive in and start creating your own 3D masterpieces. Trust me, once you start, you won’t want to stop!